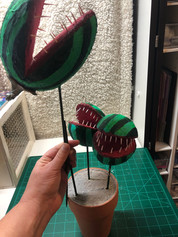
2019 Halloween DIY Little Shop of Horrors
- alainaa2

- Oct 25, 2019
- 5 min read

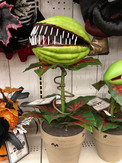
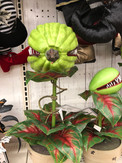
So I was walking throw Michales and I saw these and though oh yeah there is my October DIY. I tock photo's of all angles to look back on as I am making.


Materials:
Your reference photo's
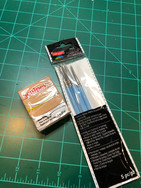
I got my stuff from
Michaels Clay pot SKU# 10252042 $2.09, Round Dry SKU# 10477857 $2.99, Foam Tool cutting set SKU#10219991 $6.99, Plant Stakes SKU#10250026 $2.99, Smooth Finish Foam Coating SKU# 10552234 $8.99, Large Foam Egg SKU#10586305 $4.99, Small Foam Egg SKU#10213122 $3.99 x2, SryroGlue SKU#10456705 $6.39, Clay Shaper SKU#10511253 $5.99, Sculpey oven bake clay Tan SKU# 10132662 $2.59, Floral Tape SKU#10315024 $5.99, Twine SKU# 10362354 $3.49.
Item I already had at home: Acrilic paint color for outside: Phthalo Green (yellow Shade), Bright Aqua Green, Neon Green. Inside: Crimson Red, Toothpick's, Acrylic Titanium White, Metallic Marker Silver, Wire Cutter, Bead Landing Aluminum wire, Acrylic paint Burnt Umber. Sand- Gray $2.99
Step's

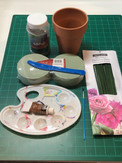


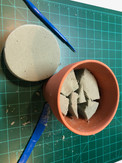


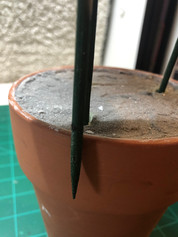
For this steep you will need: The clay pot, round dry foam, Plant Stakes, Foam cutting tool's, and Sand. (I decided not to use the burnt umber for this part)
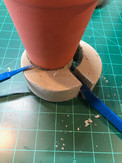
Use the bottom of the pot as a cutting guid, use the foam cutters to cut the foam, then place the foam in the pot and cut. Clean up work space...


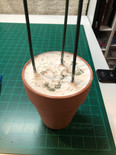


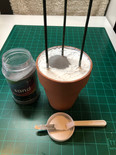
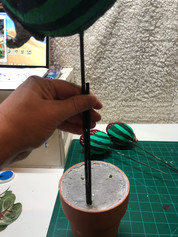
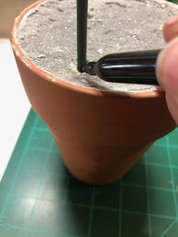
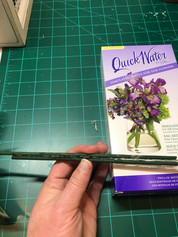
For this steep you will need: Plant Stakes, Smooth Finish Foam Coating, Sand, Spatula.
Place the Plant Stakes in to the foam, place the Smooth coating on the foam and smooth across the and around the stakes. Before the smooth finish drys pour some sand on and spread around on top of smooth.

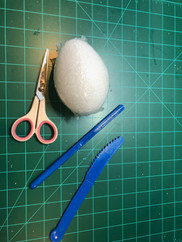


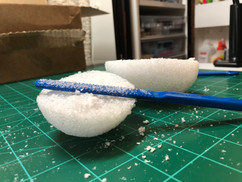
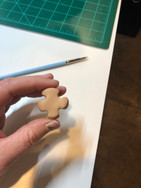
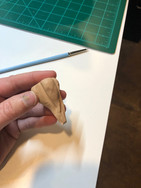
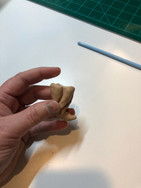
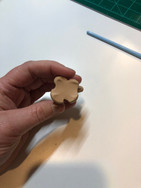
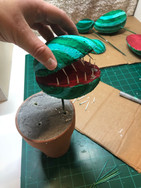
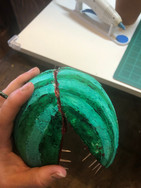
For this steep you will need:Scissors, the three foam eggs (1 large and 2 small), two foam cutting tools.
Use the scissors to cut off the plastic around the foam egg, use the knife looking cutting tool to cut down length wise then clean it up with the shaver, I also cut the back part at angle to help the mouth look open.


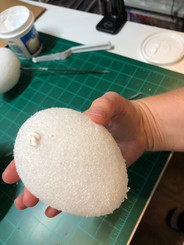

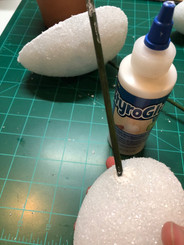
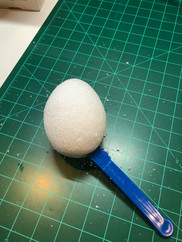
For this steep you will need: wire cutter, StyroGlue.
Decide the hight's you want then use the wire to cut the Plant Stakes, Use the Plant stake to make hole in the bottom hale of the foam egg, use the styro-glue in hole then place stake back in hole and let dry.


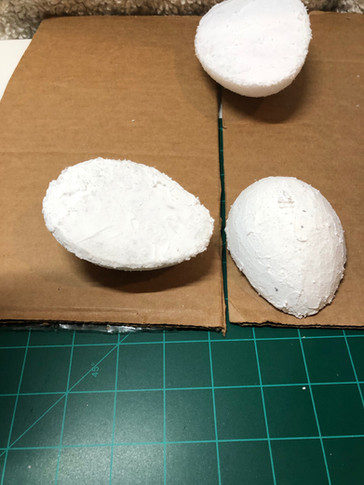
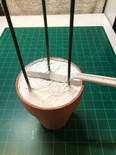
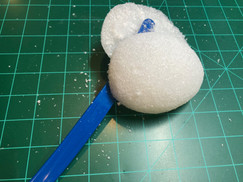
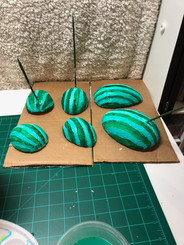
For this steep you will need: Spatula, Smooth.
will need to apply to top and bottom of all the cut foam egg's. Just be careful about the bottom with the Stake glued in bottom. I only did one coat. As that is drying


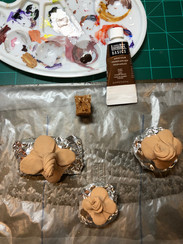
The steam
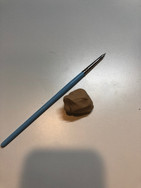
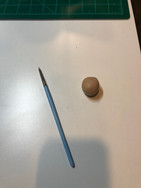
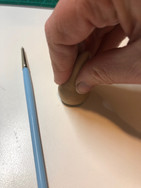
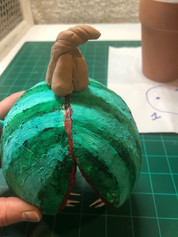
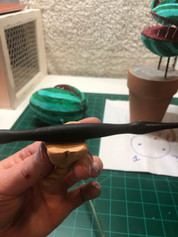
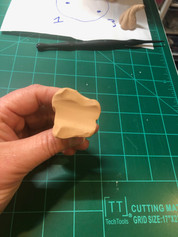
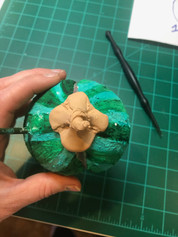
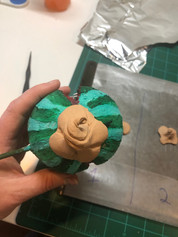
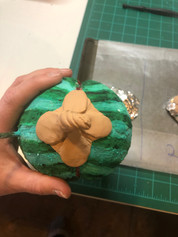
For this steep you will need:Clay Shaper tool's and the Sculpey Oven Bake Clay Tan. Don't know how to explain how to form. Set off to the side. (make sure area you put them is clean the clay will pick up debris)

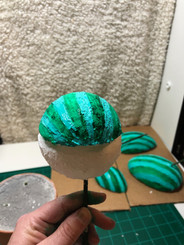
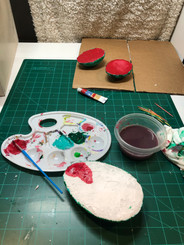
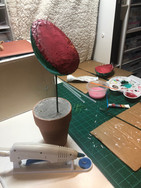
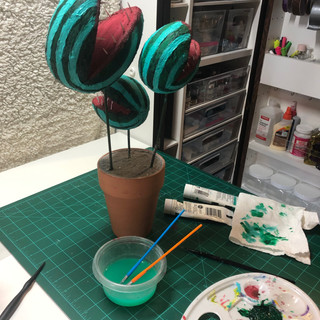
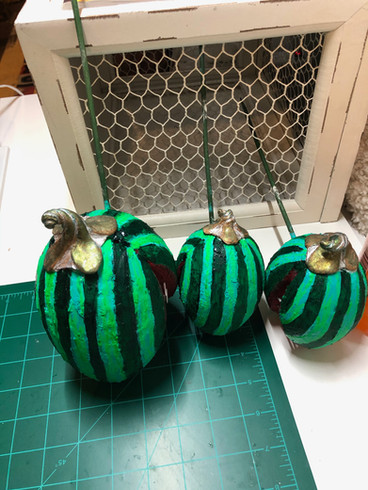
Time to paint:
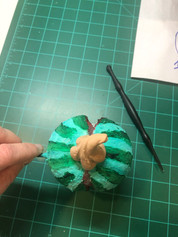
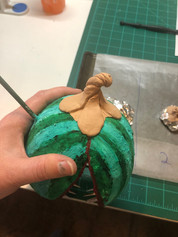
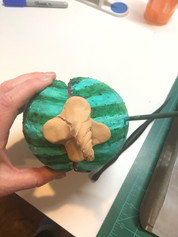
For this steep you will need: Acrylic paint : Phthalo Green Yellow shade, Bright Green for the outside then the Crimson Red, cup of water, paper towel, paint palette, paint brush ( I had one brush per color).
Time to paint: paint the top then paint the bottom but make sure the color's line up on the bottom. Once the dry paint the inside. Let dry


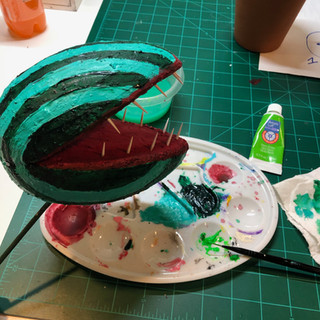
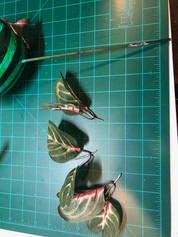
Time to make the teeth.
For this steep you will need:Toothpicks, Acrylic paint Titanium White, wire cutters, paint palette, brush, cup of water and paper towel.


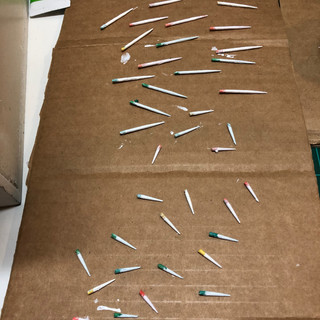
you need to cut the toothpicks with the wire cutters to lengths. I did two sizes more short sizes for the two small forms. Then paint the toothpicks. ( I am using card board so I don't worry about the suffuse getting dirty). Preheat oven 275 degrees F.


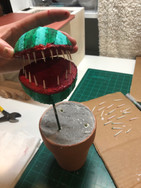


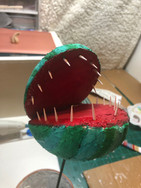
For this steep you will need: the silver metallic marker, the white toothpicks, paint palette, Crimson red Acrylic paint, brush, hot glue gun and clear glue sticks.
Add the teeth to forms. Use the silver marker to mark spots for the teeth, push the toothpicks in to the foam, remove toothpicks and use the red paint to cover the silver marks, place toothpicks back in... old the top piece over the bottom and use the silver marker to mark location for teeth on the top piece so the teeth line up and repeart to directions. once the teeth are in on top and bottom you have to connect the top and bottom. I am using the hot glue to connect the top and bottom line it up before the glue hardened.


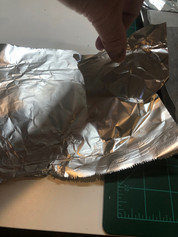

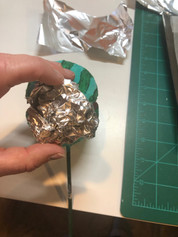


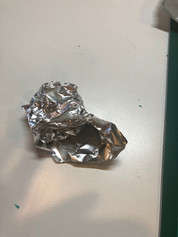


For this steep you will need: your pre-made stems, Aluminum foil, wax paper, baking pan, sharp maker.
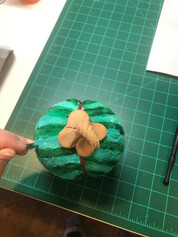
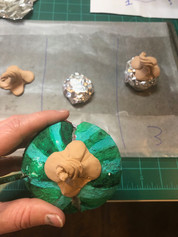
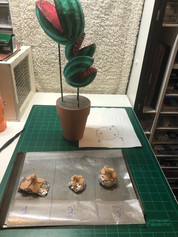
Time to finish making the steams. the important key is to remember what steam goes with what form. I make a chart and number code to what spot. Place wax paper on backing pan and label with sharp maker. Now try to make it fit your form as best as you can and refined the work and detail. you will need to make a base with the aluminum foil to place the adjusted steam so it is not flat. Then place on foil, and repeat. Then bake for 15 min's per 1/4inch.....


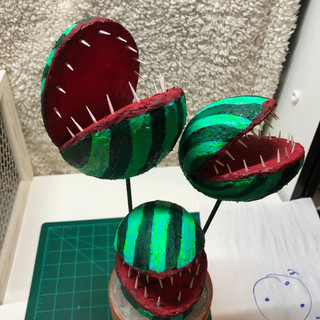
Second coat of paint.


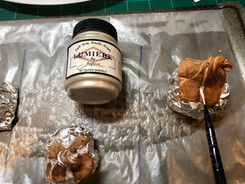


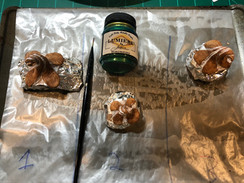


Once the stems are out of the oven and cooled off. You can paint the steam. Base coat with the Burnt Umber, with the song, then Lumiere Metallic Acrylic paint Super Sparkle and Halo Blue Gold. Use long skinny brush to apply paint then use sponge to soften the paint.

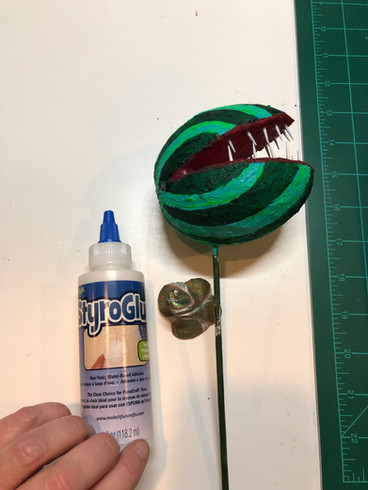

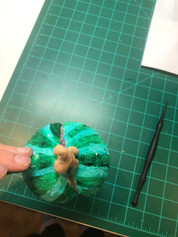
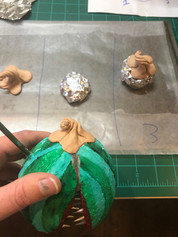
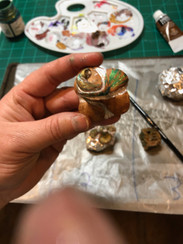
For this steep you will need: long skinny brush, Neon Green Acrylic paint, the stero-glue, the steam.
Do light random strokes with the neon green paint you do not want to cover the other color, once dry put the Stero-glue on the back of the steam them put on the form and bush down... If you have to move around its ok it dries clear.

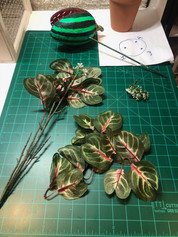


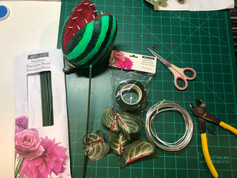


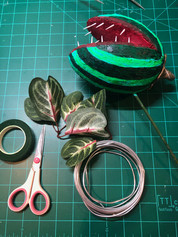


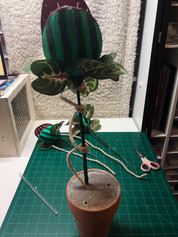
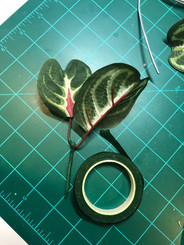
For this steep you will need: your chose of leaves, Plant Stakes,Floral Tape, Aluminum wire, Hot glue gun and extra glue sticks, Wire cutters, something to prop up stakes as glue hardens.
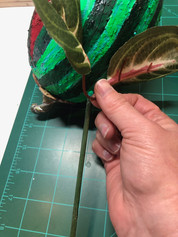
First take leaves off the stem, as you can see it will the leaves will not slid down the stakes. I decided to adjust the lengths of the stem's use the sharp marker to mark the top (will be the new stakes that is in the pot) and bottom (has the plant head on it) I used the wire cuter to cut the plant stakes, and reinforce with the glue gun. Then I cut the wire and put throw the hole for the leaves and insert in to the bass of the plant head then use the hot glue to secure it. once that is done for all then hot glue the two stakes then let cool down. then cover the stakes with the floral tape.

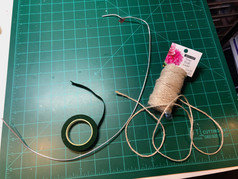


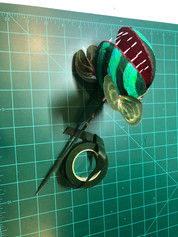
For this steep you will need: aluminum wire, wire cutter, floral tape, twine. You will need cut the wire, then wrap the wire with the floral tape.
For this steep you will need: the wire covered with tap, hot glue gun and twine.
wrap the twine around the covered wire, put little lines of hot glue down when wrap twine around it before the glue cools down. then repeat. Then insert and wrap the stems.


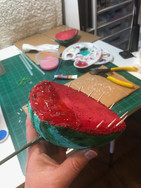
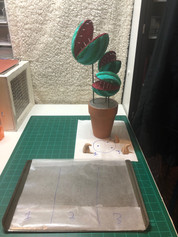
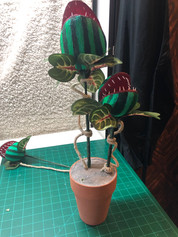
Make the leaves for the bottom in the pot.
For this steep you will need: aluminum wire, floral tap, wire cutters and small pliers (to bend the wire), leaves.
cut wire with cutters, and insert wire in to hole of the leaves, use pliers to bend over and around and clip down to secure leaves, then wrap the floral tap around so you don't see the wire.

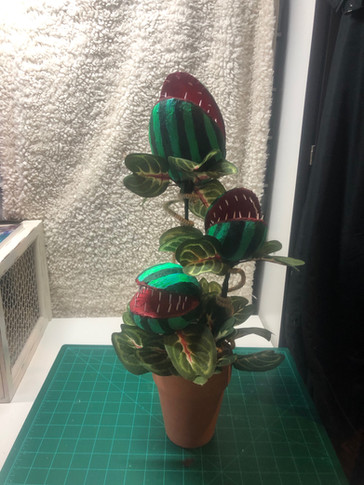

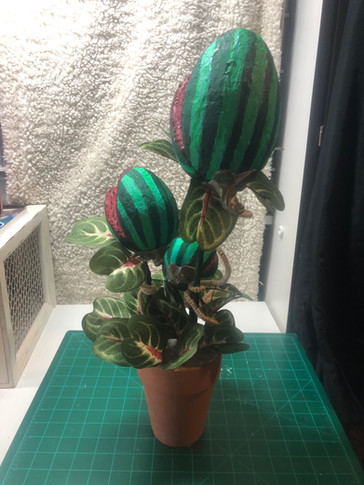
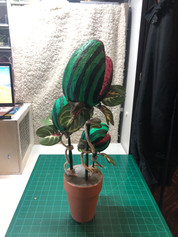
Place the leaves you just made and then you're done.
See you later for another DIY, Travel post, or HP/FB collections.


Comments