Albus Dumbledore Memory Vials Case DIY
- alainaa2

- Oct 18, 2019
- 4 min read

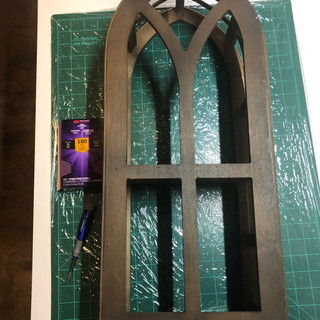
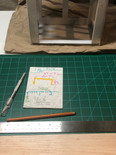
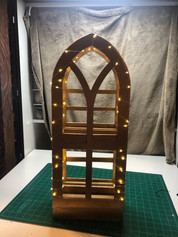
After this photo was taken I decided to change some things around. So the material list will be deferent from what you see in the photo.
Materail List:
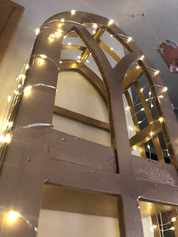
Wood Cathedral Shelf $44.99 SKU: 1809581 Hobby Lobby https://www.hobbylobby.com/Home-Decor-Frames/Storage-Organization/Shelves/Wood-Cathedral-Shelf/p/80941168
Balsa Wood $6.99 SKU: 783852 Hobby Lobby
Sand paper fine grade (you just need to rough up the surfuse so the paint will stick)
White spray paint (for the base coat)
Gold spray paint or any color you want to make it
Micro LED fairy lights battery operated works both indoor and outdoor
Sure Swatch paintable clear film (not in above photo but their is one lower down in steps)
Clear Velcro (not in above photo but their is one lower down in steps)
Weld bound (good for wood, tile, glass, and extra dries clear.)
melt ruler, clamps, exact-o blade, screw driver, cutting mate
all the other items in photo I did not use.
If you need the Memory Vials I got mine from @cansukylar on Instagram.( the glass vials are not in the photo to keep them safe as I'm working on the shelf)
Steps:
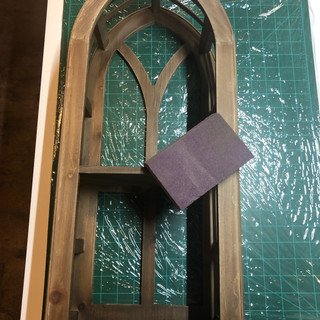
1.Take off the hardware, use the sandpaper all over then cloth rag to clean off the dust and grime so the surfs is clean
2.Prime with the white spray paint. Do light first layer
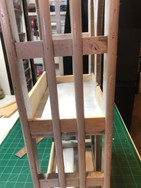
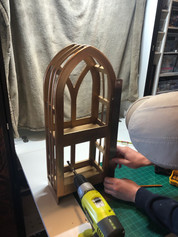
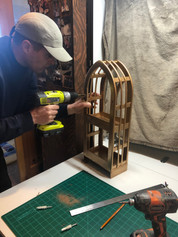
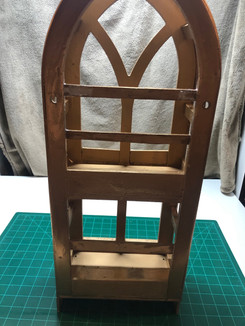
3.Making the stand more secure on the inside for the glass vials. Use the Balsa wood, clamps, cutting mat, exact-o blade, melt ruler, and the weld bond.
Once you have the cutting mat set up with the Balsa wood the clamps keeping it from moving on the mat as you cut the wood, and the exact-o blade.
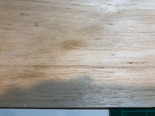
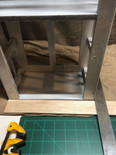
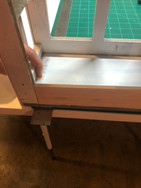
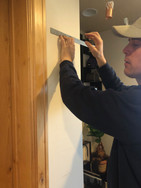
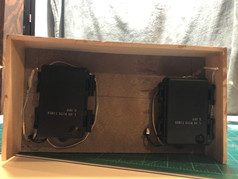
4. Your need to find out the depth (for the bass attached to the bottom) and then add some room so you don't see the battery box for the LED fairy light string. I am going with 1 1/2 for the depth. That is the first three photos.
Then you need to take the measurements for three sides the middle is 9.3 and the two sides is 5. With the Balsa wood you cut the wood. When I do the cut for the area I use the pencil to mark spot. Then I put it up next to to see if I have the length right if not I can get it right see photo 9. Then you use the weld bond to glue the three pieces together. Then set aside to dry.
5. Drilling the holes for the sting of led lights.
OMG I hate doing the measurements for this so I'll let the photos talk. For the Drill I used 1/8 drill bite
6. I also did two for top and bottom, extra two for the sides, tow for the top and the bass. Then Glue them all in, then But weight in when you glue the bass on so the wight helps press even coverage.
7. Bass coat with white paint spray can. Get every angle you don't know how high or low your going to mont it to the wall.
8. Spray paint with Gold. I am doing gold to match the cabinet in Albus office. But you can pick any color you want.
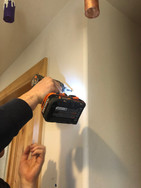
9. Drill holes in the shelf to hang on the wall. I had things set up and my husband came in and helped me out but he went to fast for me to make notes and take photos. Drill the hole so the screw head to go throw the hole.
10. Mount to wall. First find out what wall you are mounting it on to, then the hight. We used screws with sinker because there is no wood to sink the screw in to. Pre drill the hole if the sinker does not have a way to screw it self in to the wall, measure distance for the holes on self make sure it is level before drilling second hole then hang.
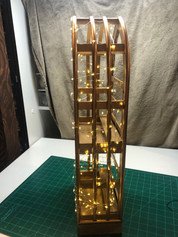
11. I ended up making shelfs for the top and bottom and three more supports.
12. Attach the battery box for the LED sting lights. Clean both surfaces , cut the clear velcro, attach velcro to box and then bottom of the self, then string light throw hole and throw the sides. I cut the velcro in to half's. Clean the part of the box and shelf the sticky part of the velcro will be attached to. place three pieces of the velcro to box then under the the shelf. String the lights throw hole and wrap the up....
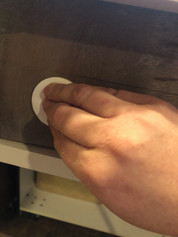
13. Hang the shelf back up and do last moment detail work. I do not like seeing the hole or the screw so I went out and got Sure Swatch then I tock out one sheet and the gold spray paint outside to spray and let dry. As I was waiting for that I sprayed some paint in the lied and a cheep brush I had from before to do some detail work. Now the Sure Swatch paint is dry I mesure the area I will like to cover. Then I take the metal ruler and mark out the mesurments with the pencil then I cut with the exact-o blade, peal off back paper and place to cover hole and screw.
14. Now we get to put in the glass memory vials and enjoy your hard work.
Thank you have a good day or evening so you later with another DIY or travel post






























































































Comentarios